Tuesday, December 16, 2014

Christmas tree topper!

So, did you figure out what my teaser picture project was going to be? There was a hint on the left side of the picture.

Well I'm happy to say he's all finished and ready for Christmas!

TA-DA! Bumbles the Abominable Snow Monster of the North!

And lookie what he can do!


This idea was spawned a few weeks ago, well, Thanksgiving weekend actually, and I haven't been able to get it out of my mind. Rudolph has always been my favorite holiday movie, and as much as I adore that poor unwanted polka-dot elephant, I thought Bumbles here would make a better tree topper. I did make him a star to put on top of the tree but I haven't decided if I want to attach it or not.

Anywho, here are some progress shots of working on Bumbles.

First I drew a little sketch to help me keep the proportions accurate. Then I made a wire skeleton. This is before I put the arms on, which are a softer wire so they can be repositioned easily.

Then out came the sculpy clay.

Little feet look like loafers with toes.

Here's the clay pieces all ready to bake. Also, that is the star that I can't make up my mind about.
You may have noticed the little holes around the edges of all the clay pieces. Well, those were sewing holes.

This one's a bit blurry but it's the only photo I have of putting the pieces together.
First I made the legs, then put the skeleton in them and stuffed around it. Then the body sewn to the legs and up the sides then stuffed up to the chest. Next the arms, stuffed the arms, sewed up the rest of the body and stuffed it. I stuffed the head separately and then stitched it onto the body.

Whew! Now he's ready to chill in the tree.


My little man helped decorate the tree.

And here it is all finished with the new topper and tree skirt!


And now, just for giggles, Bumbles making a new friend.


Thursday, December 4, 2014

Christmas time

I can't believe it has taken five years for us to get our first family Christmas tree, but it did. We're usually away from home so much during the holiday season (or in the middle of moving) that it has never seemed worth it to get one. But that all changed this year! Hooray! Here it is, our first little tree.


The little man and I will be decorating tonight, probably while drinking hot cocoa and watching Rudolph.

In honor of the occasion of the First Tree, I've been working on some things to go with it. I made a tree skirt a couple of weeks ago now, which was really different for me to sew. So flat! Weird. Anywho, here are a couple shots of that.

My pattern pieces. I went for a nonagon. (spell check doesn't like that word, but it's a real thing, promise!)

Here I was laying out the pieces deciding which order I wanted them in.

All coming together! Except those corners. Yeesh.

Turned out pretty cute!

Close up. ish.

You'll see this again when I post pictures of the decorated tree. In the meantime, here is a teaser for my next project to finish before Christmas.

Any guesses?


Bye for now.

Sunday, November 16, 2014

Sweet 16th: Mini Pumpkin Pies

It has been ages since I've posted a sweet 16 recipe! Today I've been procrastinating by filling the kitchen with the first pumpkin goodies of the year. I'll be honest here and say I'm not a big fan of pumpkin pie in general, my hubby on the other hand... so these are really for him. I never make pumpkin pie since I won't eat it but I decided to make some mini ones since I always have leftover pumpkin from my favorite recipes.

So this is a recipe for six mini pumpkin pies plus some extra baked pie filling which I have plans for!

For six mini (muffin size) pie crusts you need:
1/2 cup of flour
5 Tbsp. sugar
1/2 tsp. baking powder
1/8 tsp. salt
1 Tbsp. cold butter
aprox. 2 Tbsp egg, beaten (save the rest! we'll use it in the pie filling!)
1 Tbsp. milk

Mix together all of the dry ingredients in a small bowl. Then cut in the butter or crumble it in with your fingers, until it is like coarse crumbs.


Mix the milk and the egg together, then add them to the flour mixture. It will be pretty sticky.


Grease six muffin cups and cover your fingers in flour. Divide the dough into six pieces and smush the dough into the cups. You want to try to get it pretty thin as the dough will puff up a little when you bake it. Keep dipping your fingers in flour as needed.


Now we're ready to make the pie filling!

For this you need:
1 scant cup canned pumpkin (not pumpkin pie filling!)
1 1/2 eggs (see, told you we'd use the rest of it.)
1/4 cup plus 2 Tbsp. brown sugar
1/4 tsp. salt
3/4 tsp. cinnamon
1/2 tsp. ginger
1/8 tsp. cloves
1/8 tsp. nutmeg
3/4 cup light cream or milk (shh, I used almond milk and it worked fine!)

Mix the egg and the pumpkin together in a medium sized bowl.


Add in all the other ingredients and blend well.


Pour a little filling into each muffin cup and pour the rest into a glass baking dish and bake at 425 degrees for 10 minutes. Then lower the oven temp to 350 degrees and bake the mini pies for another 20 minutes. Check them around 15 to make sure they don't burn! Also, don't forget to put water in any empty muffin cups in your pan.


Allow the mini pies to cool completely in the pan.

These are a little more muffin-y than regular pumpkin pie with the way the crust puffs up, but you could easily sub out a different crust recipe. Also, I probably had enough filling to do 18 mini pies so you could triple the crust recipe and use all of the filling that way. I baked the remaining pie filling in a glass dish along with the pies (although it needed about 10 extra minutes). I am thinking I'll make little parfaits with the rest with layers of crushed graham crackers, pie filling, and whipped cream. Maybe some chocolate in there? Too much? I don't know, we'll see.

These are totally hubby approved and kid approved too!

what are you feeding me now mom?

I suppose these are alright.

Who am I kidding, these are great!


Happy baking!

Tuesday, November 4, 2014

Happy November - Halloween wrap up

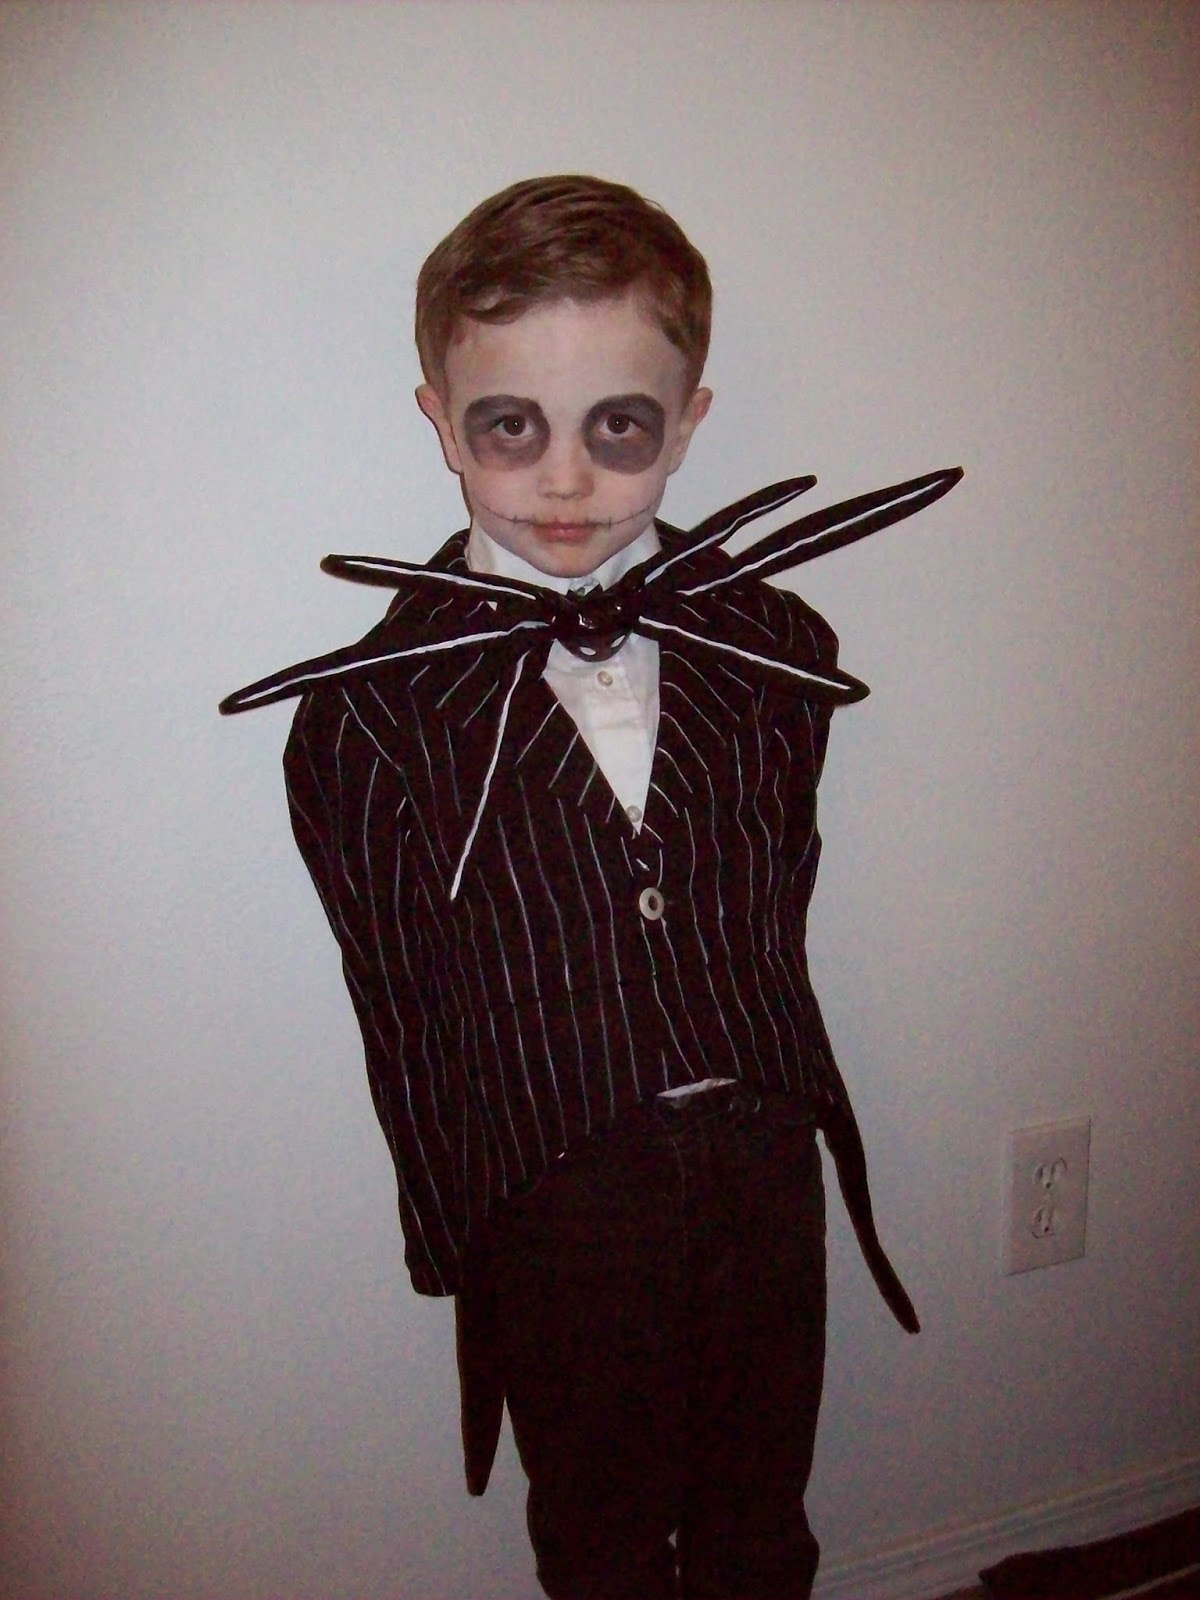
Hello! Can you believe it is November already?! This year has just flown by. I have a few pictures of the little man from Halloween as well as some of making the costume.


Back of the coat before adding the stripes.

Bat head before I added the gloss coat.

Bat tie all ready to be assembled!
Adding the stripes.
More stripes.


Making faces in the mirror with the new face paint.

Raising the pumpkins. (That's what he told me anyways)

Boo!


Also, I think I promised pumpkin pictures. So, here they are and bonus 'poison' candied apples.


We had a little pumpkin party with some friends.

Here are our two. Little man specifically requested R2-D2 on his, I chose to keep with the Nightmare Before Christmas theme on mine.
Mmm candy apples.

I'll add pictures of my own costume when I get them onto the computer.

Back to work.

Friday, October 10, 2014

Pumpkin time!

And I mean that in the actual physical pumpkins from a pumpkin patch sort of way. Not in the pumpkin flavored everything sort of way. Fortunately I've managed not to over-dose on pumpkin flavoring yet this fall so it's still ok in my book at least.

Anyways, we went to the pumpkin patch today and brought home some lovely squashes. They get to be whole for a while as we figure out what exactly we're going to carve on them. Here's last year's pumpkins if you're interested!

Silly pumpkin

Pro wheel-barrow pusher right here

We also did a corn maze this year!

I've also finally started working on the little man's costume and I must say I'm really excited about it! More to come on that once it's finished and of course pictures of the finished pumpkins too!

That's all for now.

Happy Fall!

Monday, August 11, 2014

Costumy things

I finally got into storage to pull costumes for Man of La Mancha yesterday and got everything hung up and ready to sort through for the actors. Yay! I finally feel like I'm getting somewhere on this show now. Looking forward to getting the materials for making the ever exciting Knight of Mirrors! More on that when I start on it.

Glorious mess unloaded from the car.

All hung up in a much too small area, but it's what I've got.

Ooh, shiny!


In the meantime, I have a costume crisis. I'm still really in the beginning/mid stages of Artemisia, but I also really want to make the Cyber King's (Mercy Hartigan) gown from Dr. Who.

 
And here she is all cyber-ified
 
Apparently I'm into making villainesses at the moment? Hmm. Anyways, I have a slight apprehension about the black out contacts, mainly because I already wear contacts so I can see. Eye problems. But otherwise, gorgeous gown, cool head piece, creepy cyber-minions, what's not to love?

We'll see when/if I ever get around to it.