I have been meaning to make us some stocking for the last couple years and just wasn't inspired and/or couldn't find the time.
This year though I finally found an idea I loved (thanks Martha Stewart magazine) and it was destined to be a 'do it yourself' project.

Best of all, this project cost almost nothing! I paid about $5 for 3 thrift store sweaters and the rest of the supplies I already had.
Here's what you need per stocking:
1 adult size sweater (preferably with a pattern or cable knit design)
lining fabric
thread
stocking shape pattern
pins
sewing machine or a serger
ribbon (optional)
The first step is to wash your sweaters. I washed and dried mine hoping they would felt up a little which of course they didn't because they're not wool. Oh well.
Next cut a stocking shape out of both sides of your sweater. I used an old stocking as a template then placed pins in my sweater to hold the two pieces together while I cut them out. The pins also served as my cutting lines.

As you may notice, this sweater had a lovely turtle-neck collar that I chose to incorporate.
Next cut out lining fabric the same size as your sweater fabric. Something that is not stretchy will work best for this as you want it to hold your sweater material in the stocking shape. I tried a few different things (cotton twill, basic weave, and a stretch poplin) and they all worked fine. You could have a lot of fun with prints for the linings but I kept mine all basic solid colors.

Now you'll need to un-pin the sweater fabric and insert the lining between the two sweater pieces.

I decided to do french seams on my stockings to keep the sweater edges from unraveling but a serged stitch would also work fine. For french seams, leave the stocking as it is and sew around the edges leaving an opening at the top. Then trim the seam allowances down quite small.

Turn your stocking inside-out, pin the edges tightly and sew again, making sure to catch the first seam allowance inside your new seam.

Next I basted the lining to the sweater fabric around the opening. I did this by hand but it could be done by machine at this step or at the beginning.

Now add a hanging loop of fabric or ribbon:

Make sure the loop is attached to the lining fabric and not the sweater. If it is attached to the sweater fabric it will pull funny and not hang very nicely.
Now you're ready to hang it up!

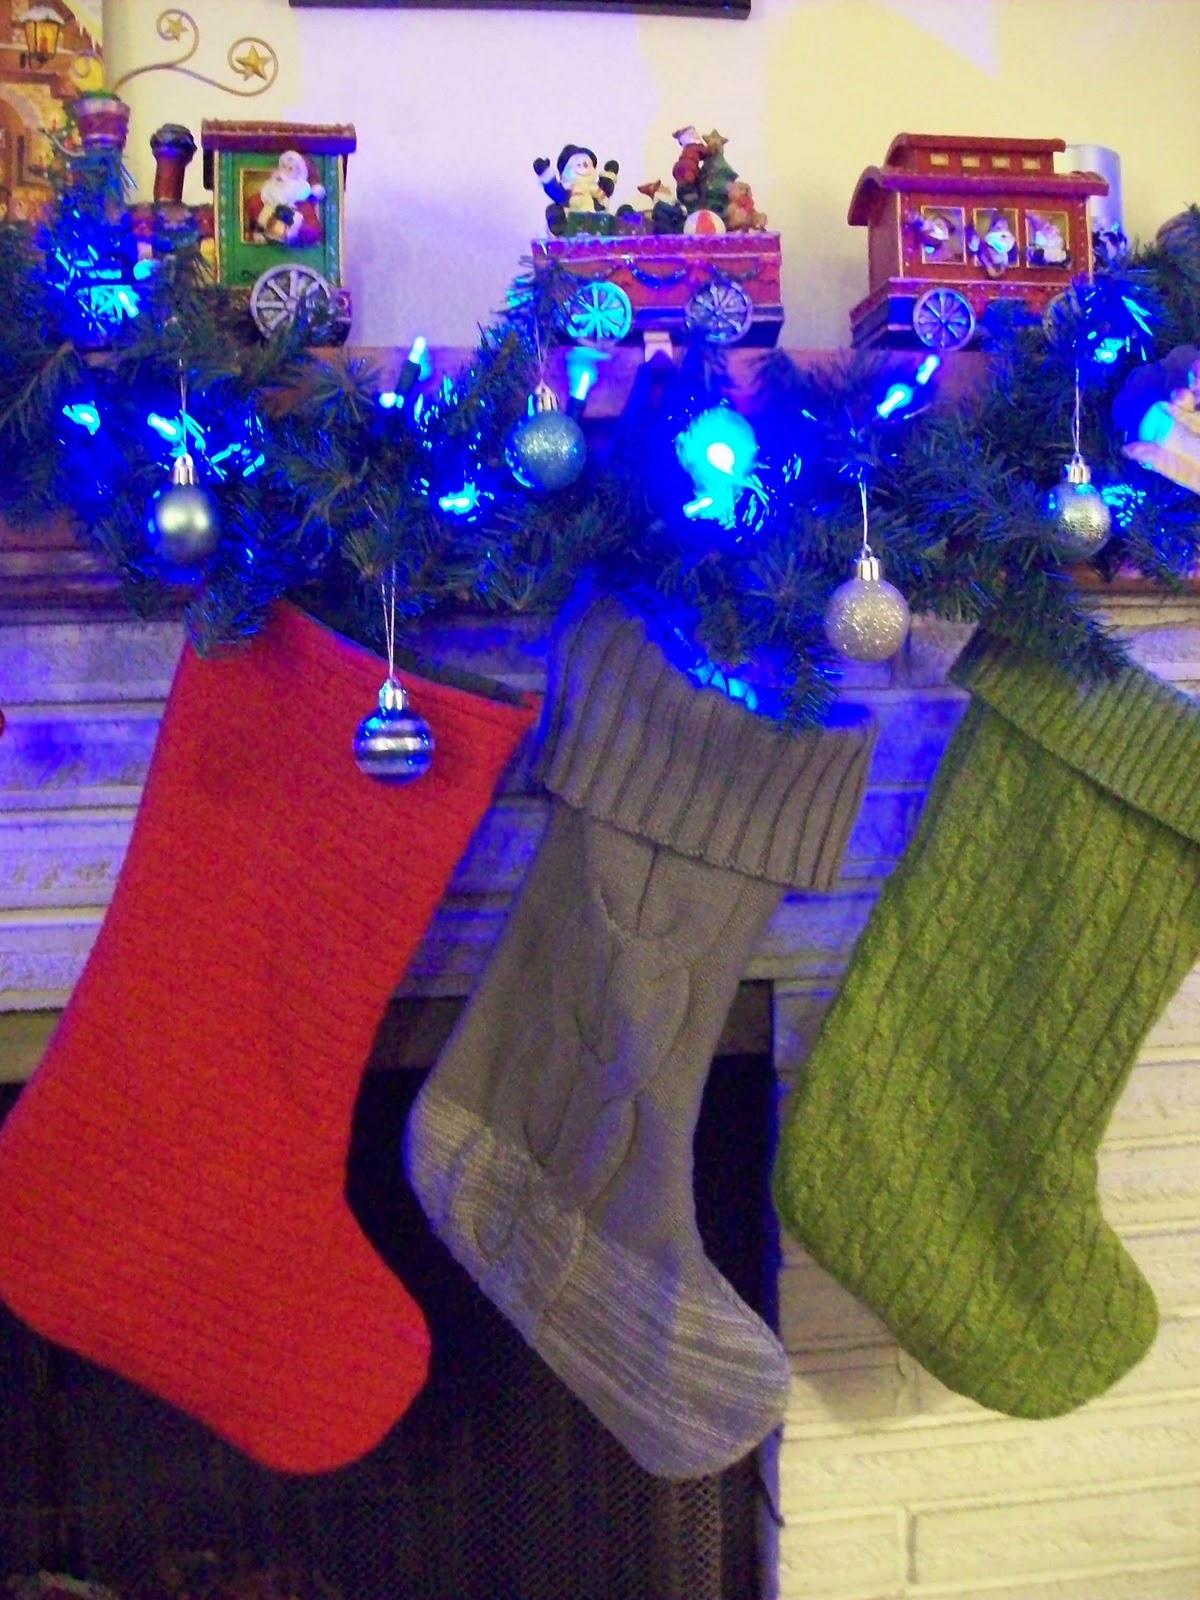
Here's our whole bunch! Stockings hung by the chimney with care...
This wasn't too hard of a project, It took me about 3 hours total including cutting out and ironing. (I am an experienced sewer) I will say that pinning is very important with the knit fabric as it will try to stretch.
Happy sewing and Happy Holidays!
No comments:
Post a Comment